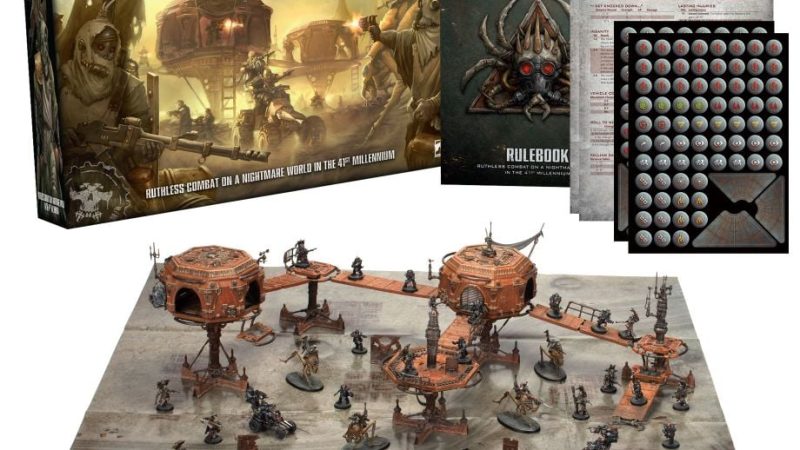
Necromunda: Ash Wastes, How to Create Road Terrains
Playing the skirmish wargame Necromunda: Ash Wastes involves immersing oneself in the post-apocalyptic narrative of the colossal hive city, Necromunda and its surrounding wastelands. The game presents a compelling experience as players lead their gangs across a devastated industrial landscape or into the arid nothingness of the Ash Wastes. But the gameplay’s authenticity isn’t complete without a tactile board representation, notably, the roads!
Roads in Ash Wastes aren’t just aesthetic. They’re a strategic component that influences movement a lot. Hence, having them properly designed adds a realistic touch, enhancing your overall gaming experience.
In this article, I will guide you through the process of creating realistic roads for your Ash Wastes board, using a specially formulated mix spread on a canvas. We’ll make our own wash / Nuln Oil in good quantity and we’ll do some dry brush. The final product will create an appealing, gritty, textured road perfect for your gameboard that can be transported or stored easily and survive time.
NB: crazy thing is, it’s also applicable for Warhammer 40K, Gasland and other tabletop games you’re playing! I know!
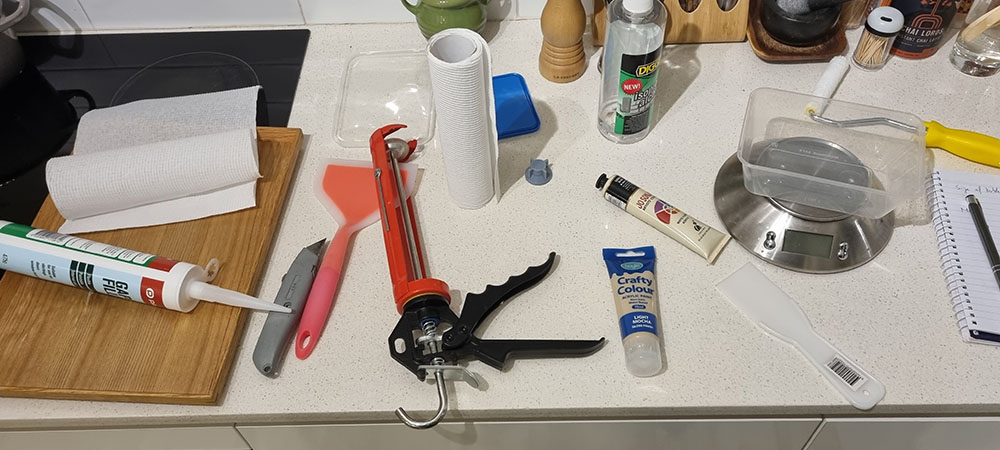
Materials Required
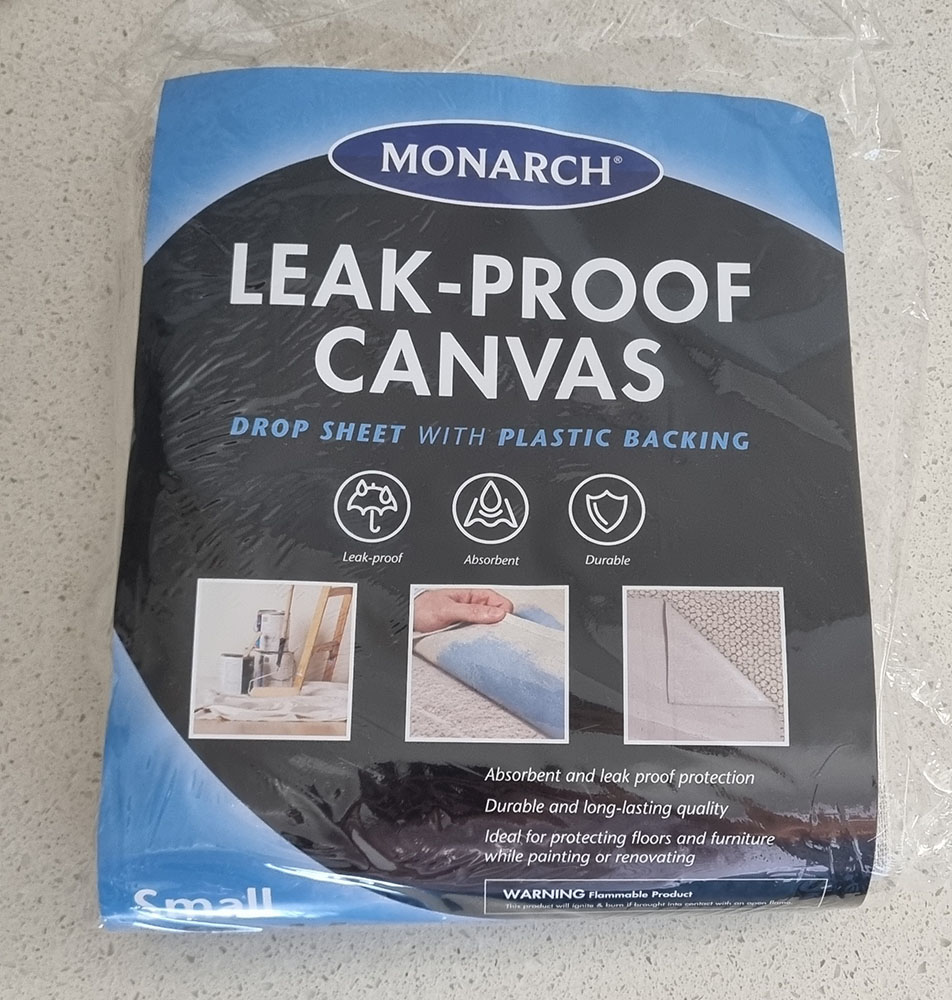
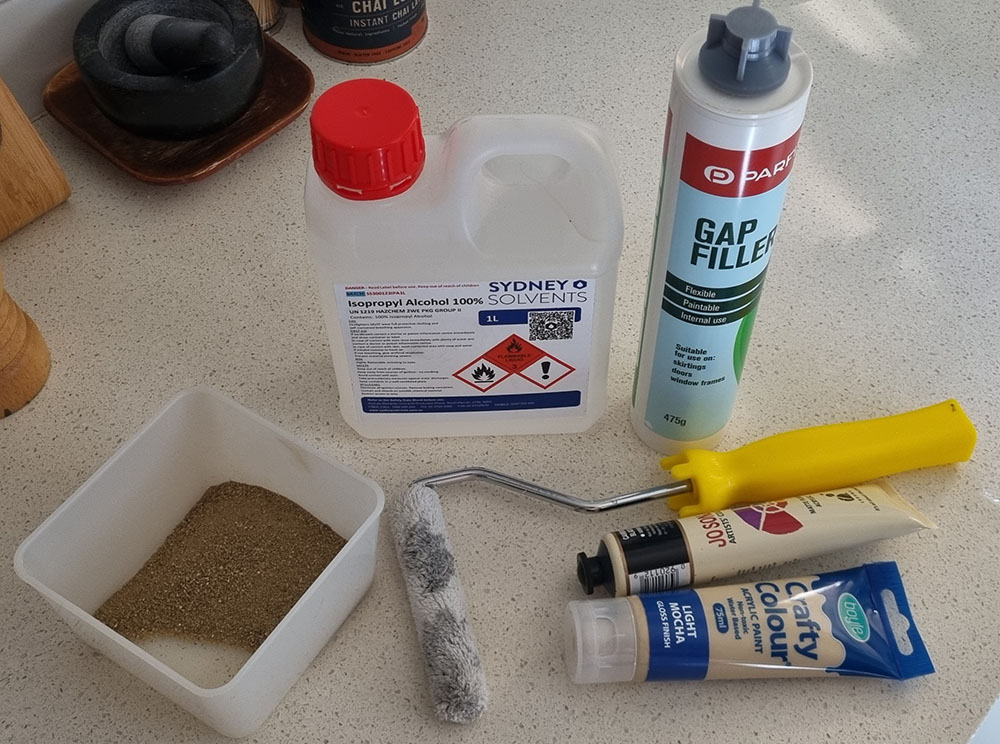
- Canvas Drop Sheet with Plastic Backing
- Masking Tape https://amzn.to/44OkzE5
- Gap Filler https://amzn.to/3RifUXF
- Acrylic Paints (in a good quantity of the same colour + white/black)
- Isopropyl Alcohol > 95% https://amzn.to/3sV0puE
- Beach Sand (fine grains)
- Big Palette Knife or similar https://amzn.to/3EwbbKF
- Roller Brush https://amzn.to/4697vKo
Painting:
- A big brush for spreading your custom Nuln Oil
- Black Ink, Water and Flow Aid for Ink Wash
- A big dry brush
- More Acrylic Paints (a lighter tint of the paint used earlier)
Step 1: Preparing and Ironing Your Canvas
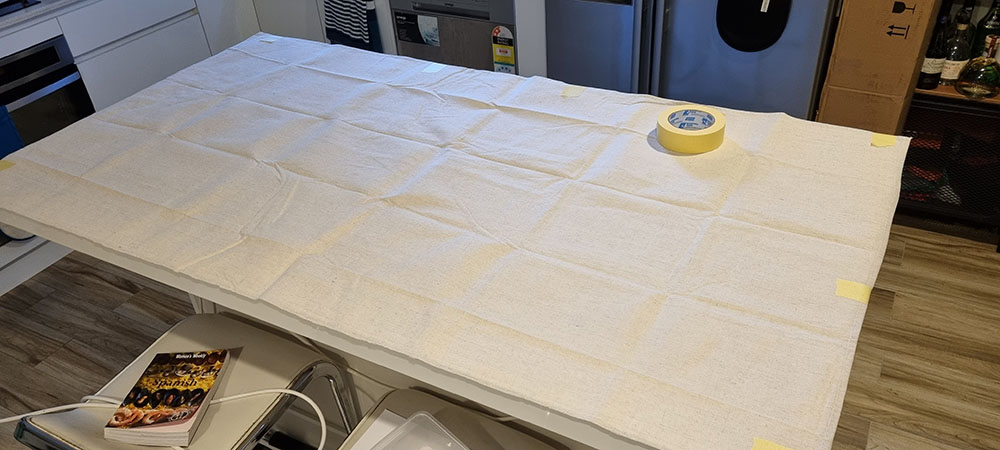
Get yourself a Canvas drop sheet with plastic backing. This is going to be the most costly material that is going to be consumed for those roads. Why with plastic backing? Because we’re going to spread materials on top of it. Also because the canvas will not deteriorate as quickly when held together by the plastic backing.
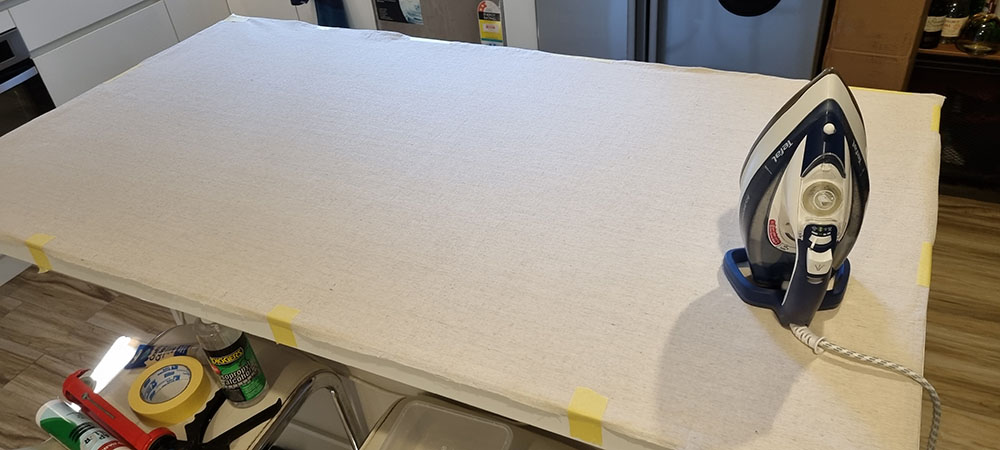
After putting your canvas on your workbench or table, it’s crucial to ensure that the canvas is flat and free of any folds or creases. Use a household iron on a medium to high setting to iron your canvas drop sheet. This step is important because a smooth, flat canvas allows for a more uniform application of the mixture and prevents any potential texture irregularities.
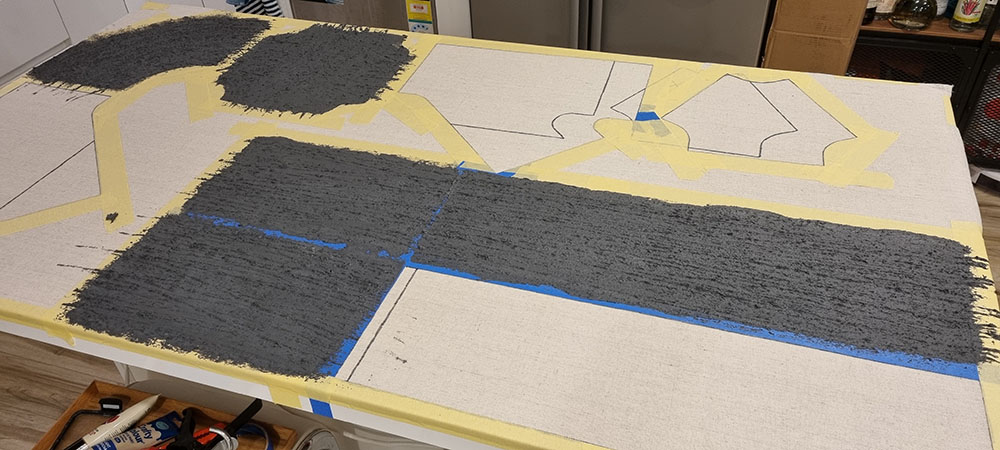
Step 2: Tracing the Road Templates
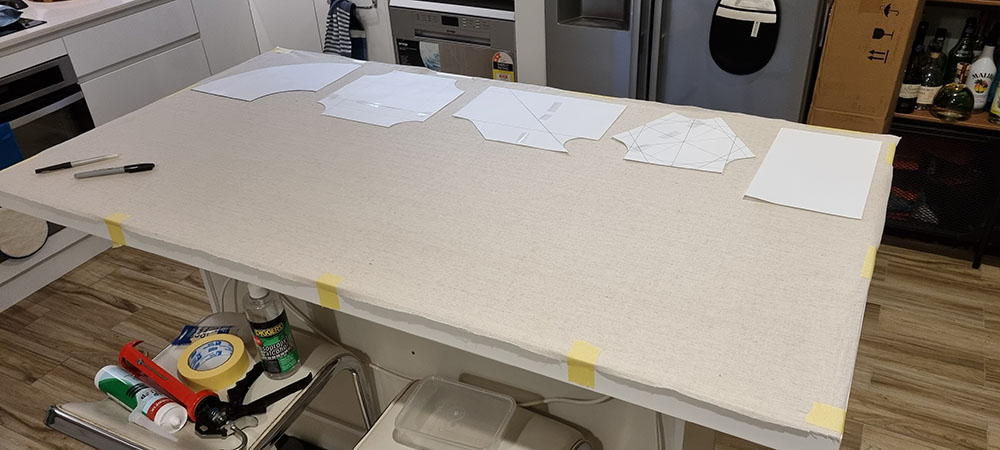
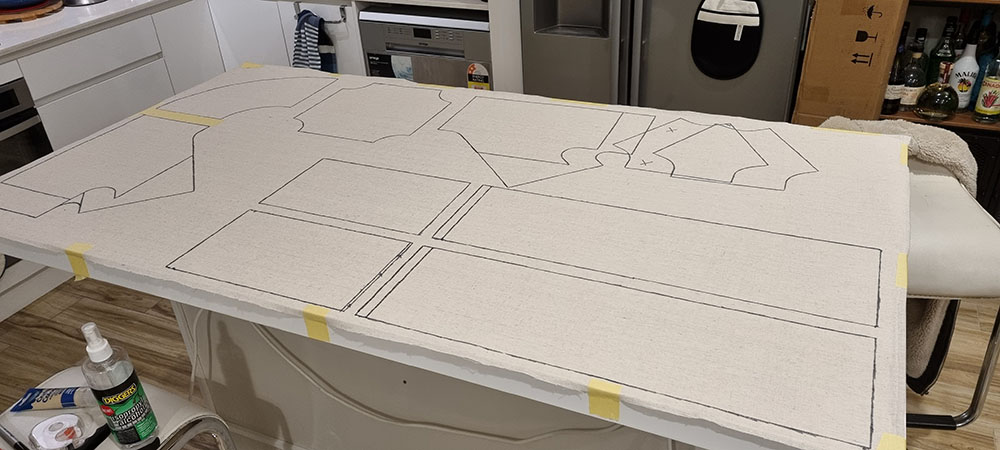
With your canvas now flat and smooth, the next step is to trace the road sections onto it. You can create templates using paper or card stock for various road shapes and sizes—straight sections, curves, intersections, and so on or you could just go wild and improvised it. Consider the scale of your game and the layout of your Ash Wastes battlefield when deciding on the sizes of these templates. The game creators advise in the Ash Wastes rulebook to have roads between 6 and 8 inches (15.2 cm to 20.3 cm). In this guide, I’m going to do 7″-wide roads (17.8 cm)
Place these templates onto the canvas and trace them using a marker. This step ensures accurate and consistent road sections, giving your battlefield a more realistic appearance when road sections connect to each other.
Step 3: Applying Masking Tape around Road Templates
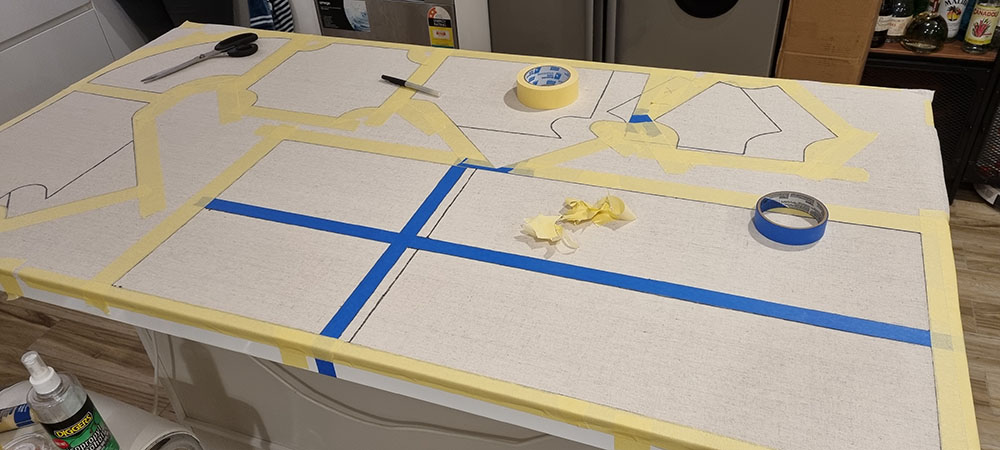
With your road templates traced onto the canvas, the next step is to apply masking tape all around the borders of these traced shapes. This creates a neat boundary for each road section.
Lay the tape down along the outer edge of each traced road section, ensuring that it fully adheres to the canvas. Make sure the tape is positioned accurately to maintain the integrity of your road designs.
This step might seem time-consuming, but it’s quite beneficial. When you start applying the gap filler mixture, the tape will serve as a barrier, allowing you to focus on achieving a uniform texture without worrying about precise edges. This process significantly simplifies the application step, making it easier to achieve professional-looking results. After you’ve completed this, you’re ready to begin applying your texture mixture to your roads!
Step 4: Creating and Applying the Mixture
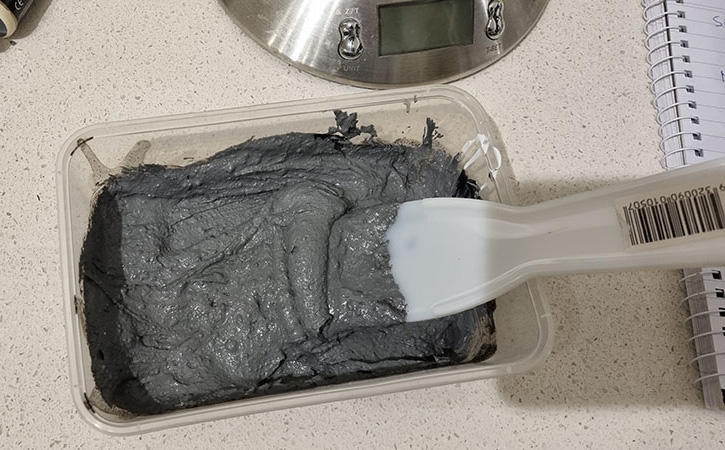
Next, prepare a mixture of gap filler, grey paint, isopropyl alcohol, and beach sand.
Recipe for 7″ x 24″ surface
- 200 mg of gap filler
- 10g of acrylic paints
- 40g of fine sand
- 25 ml of Isopropyl Alcohol >95%
The sand should be well-sieved to ensure even distribution. Mix these ingredients together until you get a uniform texture. After stirring a bit, you’ll get it right.
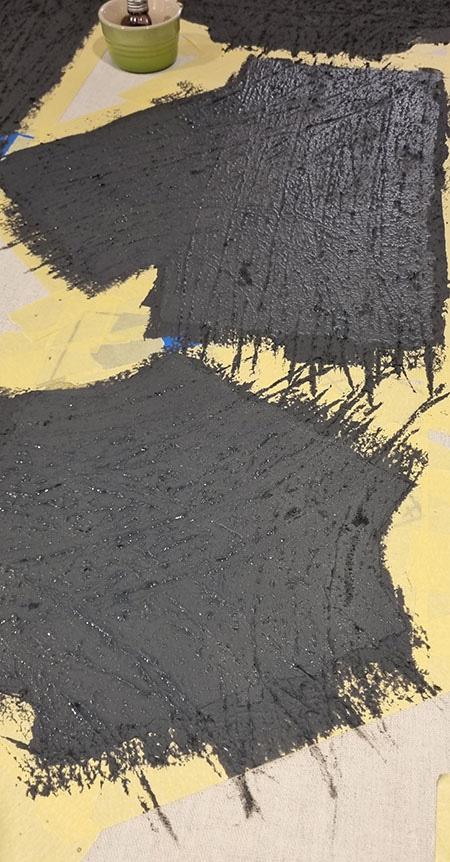
Spread this mixture evenly across the cut canvas shapes but don’t spend too much time doing something super neat, we’re going to texture it soon. Ensure that the application is thick enough to hold the texture but not so thick that it overwhelms the canvas. Jump to the next step before it dries!
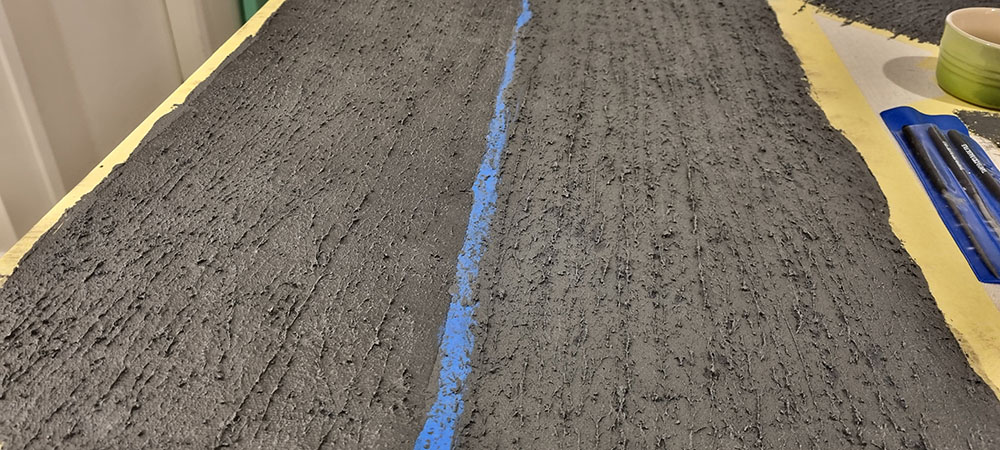
Step 5: Texturing the Roads
With your road mixture spread onto the canvas, it’s time to add texture! This process brings a lifelike quality to your roads, making them appear as well-trodden paths rather than smooth, untouched surfaces.
Begin by using a roller brush across the spread mixture on your canvas. Move the brush along the roads. Apply gentle pressure to ensure that you don’t go too deep, maintaining an overall even surface. This technique will help you create the base texture of your road, mimicking the look of hardened, uneven tracks.
To elevate the realism further, we will use cheap car or truck toys to create tire track imprints on the roads. Choose toys with textured wheels that can leave distinct prints. Roll these toys over the still no-dried, textured mixture on your canvas. Do this in various directions and overlap some of the tracks to mimic the appearance of a frequently used road.
Step 6: Applying Wash
Once the mixture on the canvas is completely dry, prepare a wash by mixing water, black ink, and flow aid. This wash will seep into the crevices and crannies of the textured road, further amplifying its gritty realism. In order to do that, we’re going to prepare our own wash instead of using Nuln Oil wash from Citadel Colour.
Recipe
- 100 ml of water
- 30 drops of black ink
- 15 ml of flow aid
The flow aid is going to break the surface tensions water has itself. It’s going to help spread the wash everywhere.
Apply this wash over your roads and let them dry thoroughly.
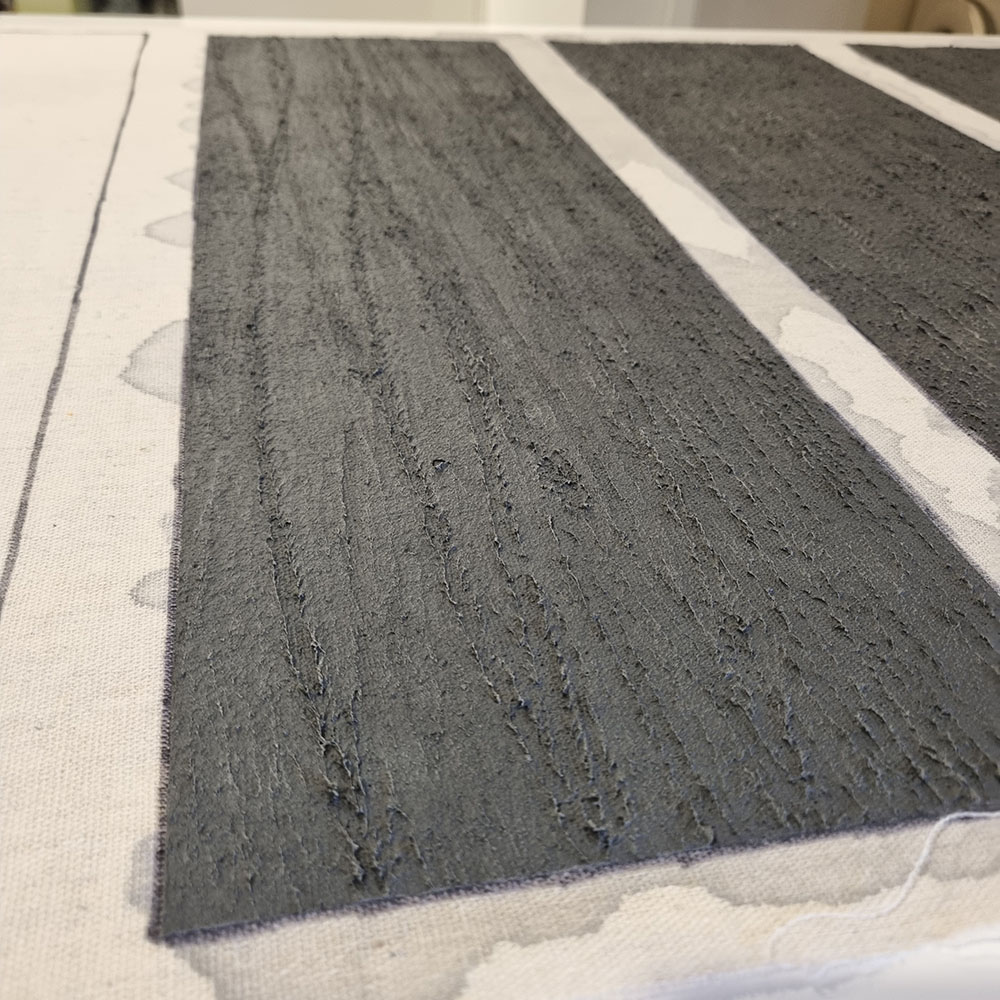
Step 7: Dry Brushing for Highlights
With the wash dried, the final touch to your roads is dry brushing. For this, use a lighter shade of grey than you used in your original mixture. Dip your brush in the paint, remove the majority of it on towel paper, and lightly brush over the surface of your road. The raised portions of the texture will catch this lighter paint, creating attractive highlights and depth.
Step 8: Removing the Masking Tape and Cutting the Roads
After your roads have completely dried and you’re satisfied with the texture and the dry brushing, it’s time for the final step – removing the masking tape and cutting out the road sections.
Start by carefully peeling off the masking tape from around your road templates. Take your time to ensure the edges of your roads stay intact and neat. You’ll notice the clean, precise edges the masking tape has facilitated, giving your roads a professional look.
With the tape removed, now it’s time to cut out your road sections. Use a sharp utility knife or a pair of heavy-duty scissors (best option) to cut along the traced lines of your roads. Ensure the cuts are smooth and follow the road outline precisely.
As you cut out each section, you’ll start seeing your game board come to life. These durable canvas roads, with their realistic texture and appearance, will provide a fresh and immersive gaming experience.
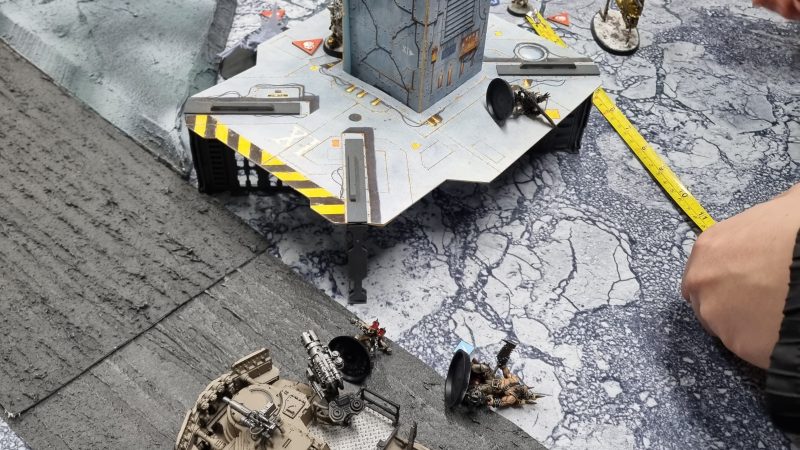
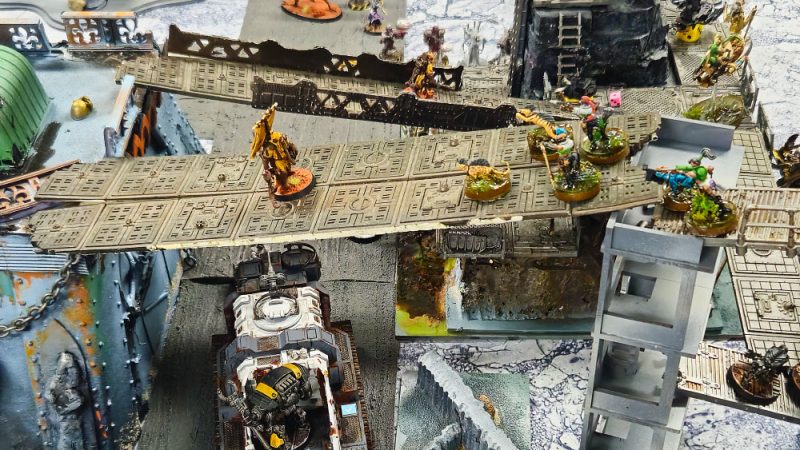
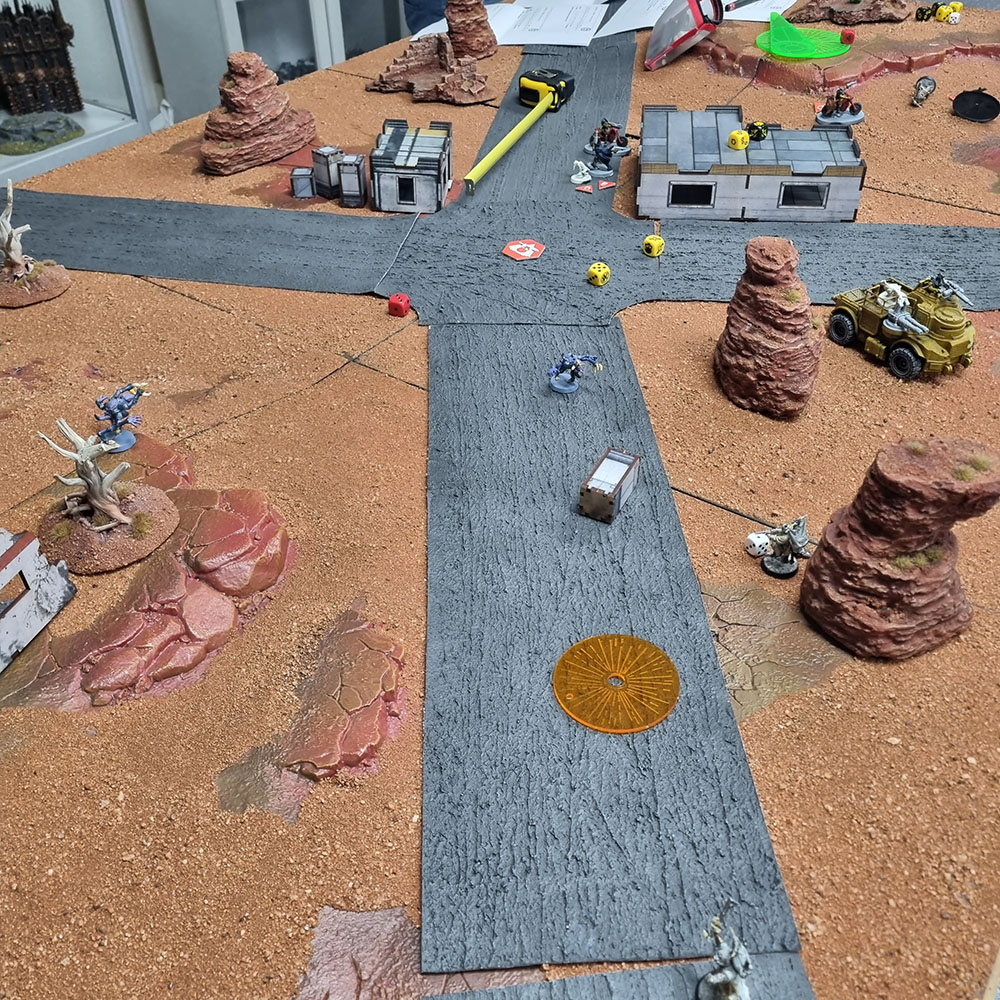
Outcome pictures!

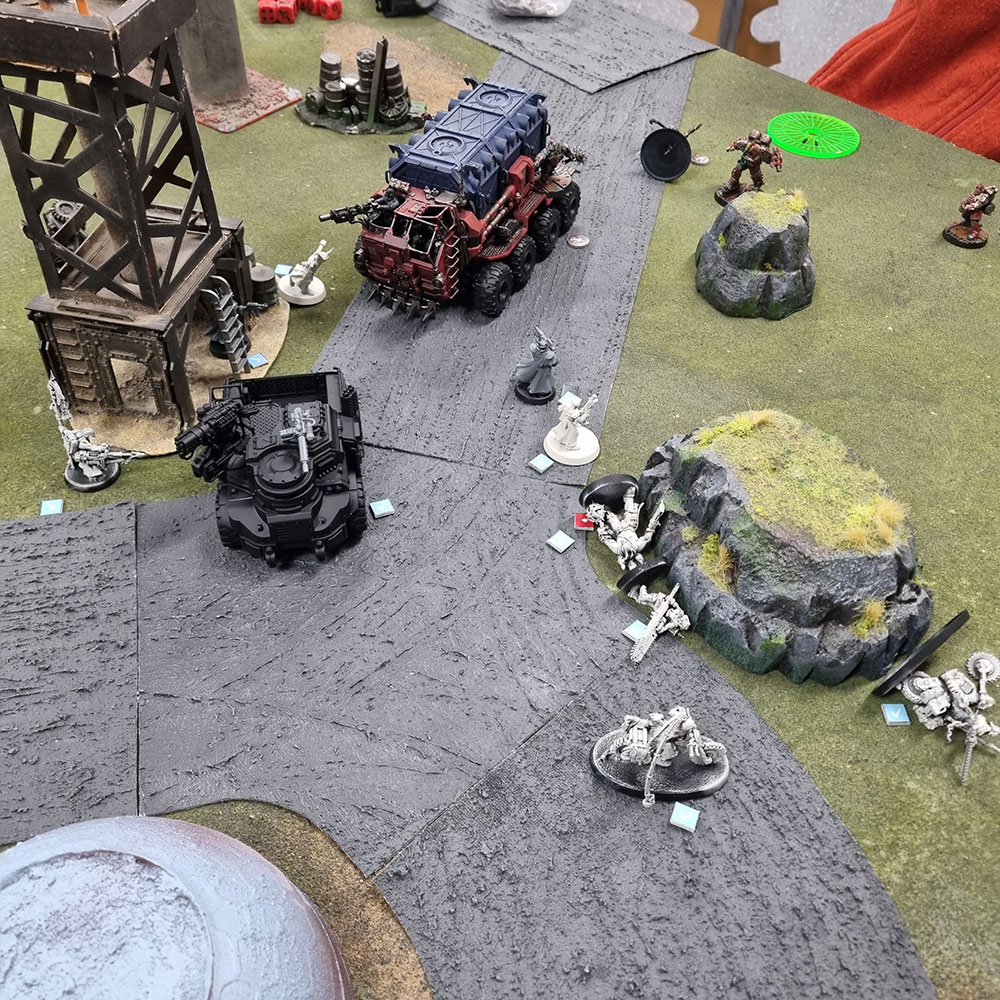
By spending some time constructing realistic roads for your Necromunda: Ash Wastes board, you’ll not only amplify the visual aesthetics of your game but also augment the strategic elements of gameplay. So, roll up your sleeves, get your materials ready, and let’s start crafting those roads!